
There's no denying it, whether you love or loathe the 90's craze, scrunchies are back. This cute and super easy DIY injects a perfect floral freshness to any outfit
I thought as a way to ease me back in (yes it really does feel that long) I would do a DIY. I have been planning this for weeks- I'm really excited for it so I hope you like it.


A piece of floral (or other print) cotton fabric measuring 60cm x 14cm
A length of strong slim elastic- about 30cm (I picked mine up in John Lewis- I think it was about £3)
A matching cotton thread
A sewing machine (it is possible to do it without)
Fabric scissors
A pencil
A ruler/tape measure
Pins
Knitting needle- not essential but very handy
An iron

First, iron your fabric to ensure it has no creases in then using a pencil, on the back of your fabric mark out a 14x60 cm rectangle and cut it out.


With the wrong side of the fabric facing you, fold over the edge of the right hand short side by about 1cm and pin (or press flat with an iron). Then fold the fabric over horizontally (along the length) and pin along the open edge.


Step 3:
Sew along the open edge of the fabric leaving about a 1/2cm seam allowance. When finished you should have a nice tube.
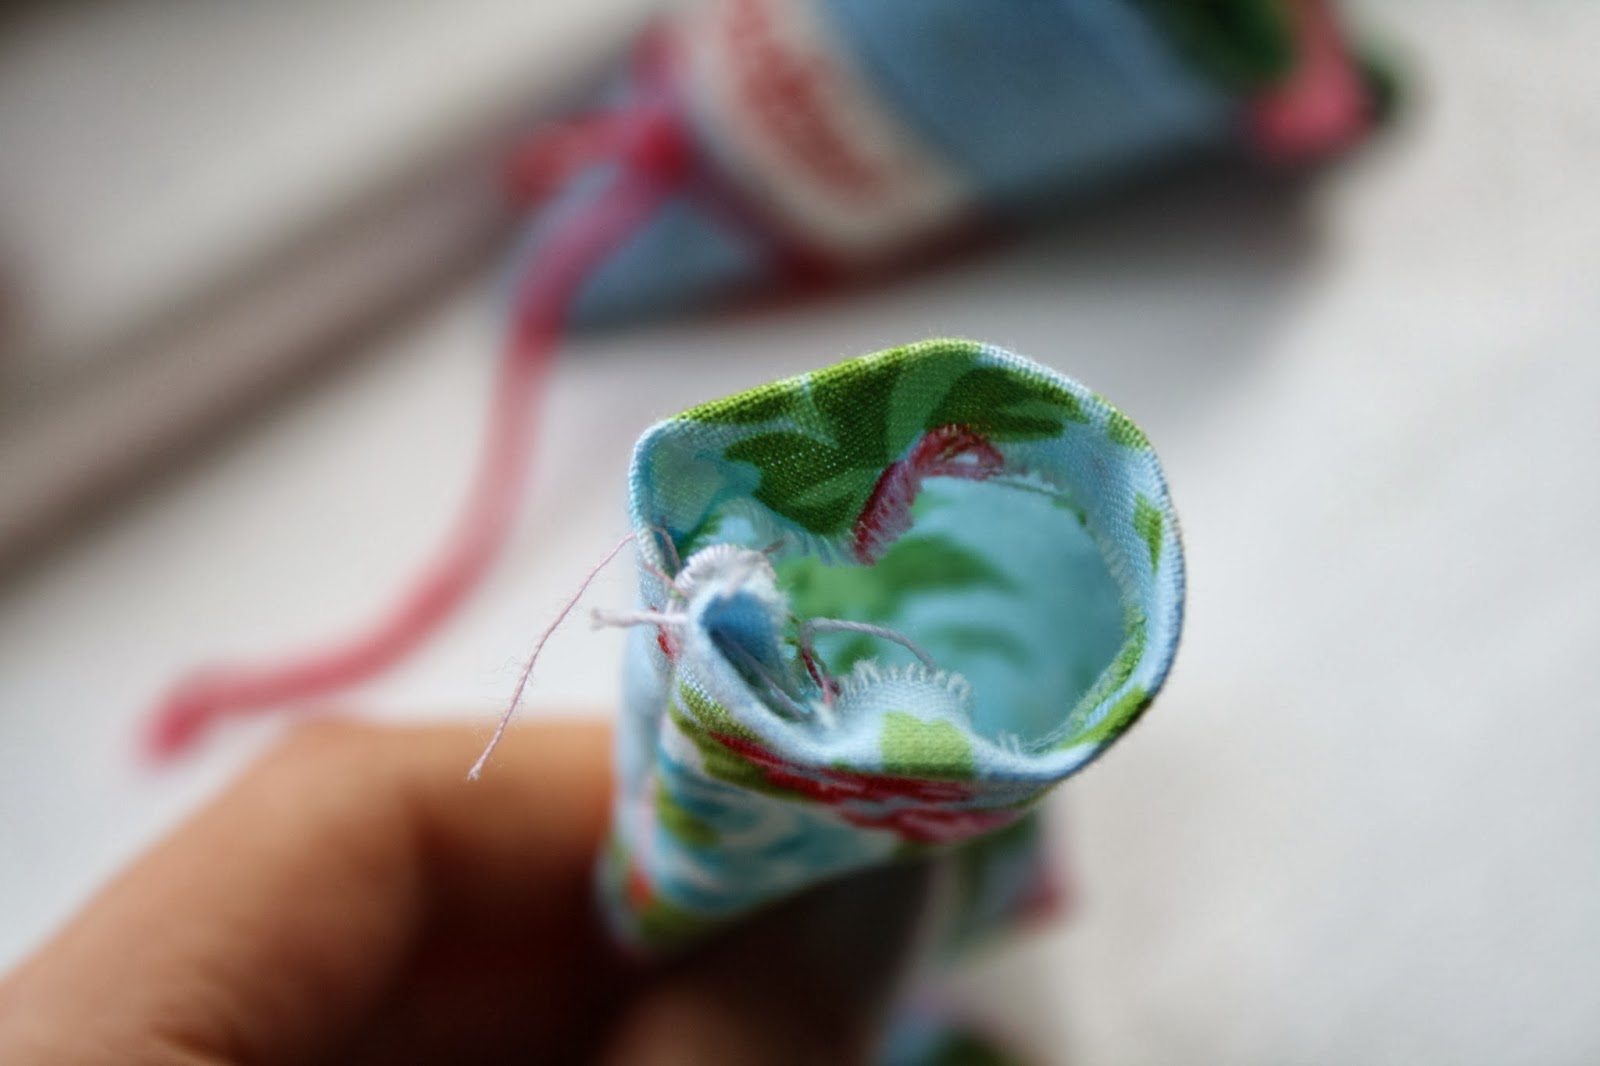
You need to turn the tube right side out- this can be quite difficult and involves quite a lot of flapping! I just start by trying to pull on end through and flap it a lot and eventually it works! The knitting needle can sometimes be helpful. Once you have done that iron the tube flat


Step 5:
Take your knitting needle and tie the elastic around the end (this helps pull the elastic through). Once you have done this you should have two ends- you can either sew them together (I did this because you are then left without a knot in your scrunchie- just run over the ends a couple of times) or you can tie them. Push the knot/seam into the fabric tubing.

Step 6:
I hate this part, mostly because I suck a hand sewing...
Overlap the ends of the fabric, with the folded edge on top. Carefully stitch (I'd recommend slip stitch) these two sides together. By stitching carefully into the fabric, your seam will be almost invisible.
 |
| as you can see my sewing is awful but it doesnt really matter as it is all pleated together |
Wear with pride!
This makes a relatively wide scrunchie but if you wanted to make a thinner one (which looks nice with a top knot) you could use 50x10cm instead.
I have a few other hair DIY's so it could become a little series. I hope you've enjoyed this and that you try to make them! If you do send me a picture!
Have a lovely weekend,
Katie x


